
These easy homemade cinnamon rolls are my family’s favorite treat! They are a Christmas morning breakfast tradition that we’ve grown to love. And the best part is you can make a batch of cinnamon rolls for the freezer to enjoy them anytime!
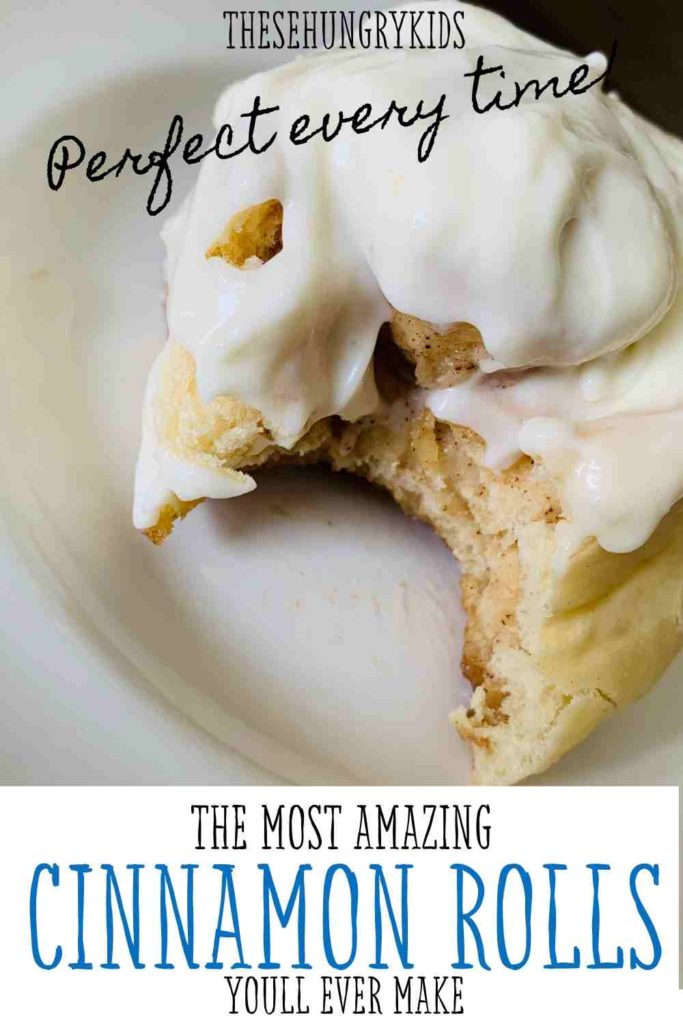
I am not exaggerating when I say this: I make the best homemade cinnamon rolls you will ever taste.
Yep, I said it! And I’m not even slightly embarrassed to say it.
I have been perfecting this recipe for a very long time. And I’m excited to say I have tweaked it to absolute divinity!
Cinnamon rolls have long been a Christmas morning tradition in our house. I can remember making them with my great Grandma, grandma and aunts as a child.
Now, it’s something my daughters and I enjoy doing together! Admittedly, we make them frequently and not just at the holidays. Fortunately, this is a easy recipe to follow and can be made in large batches to store in the freezer!
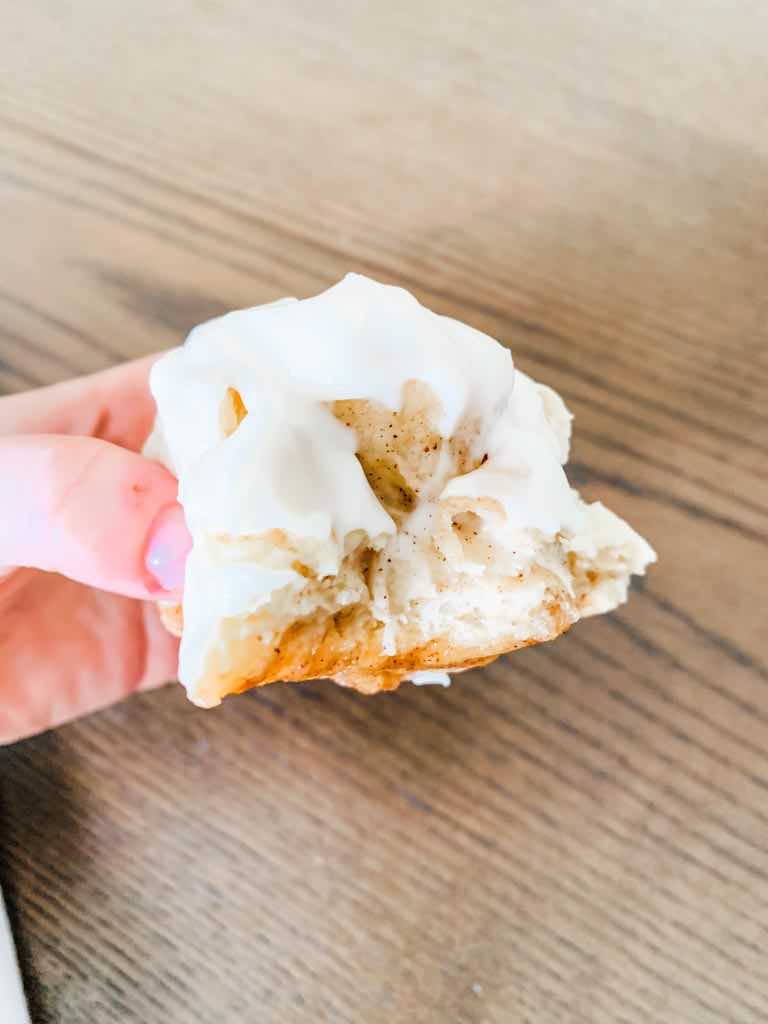
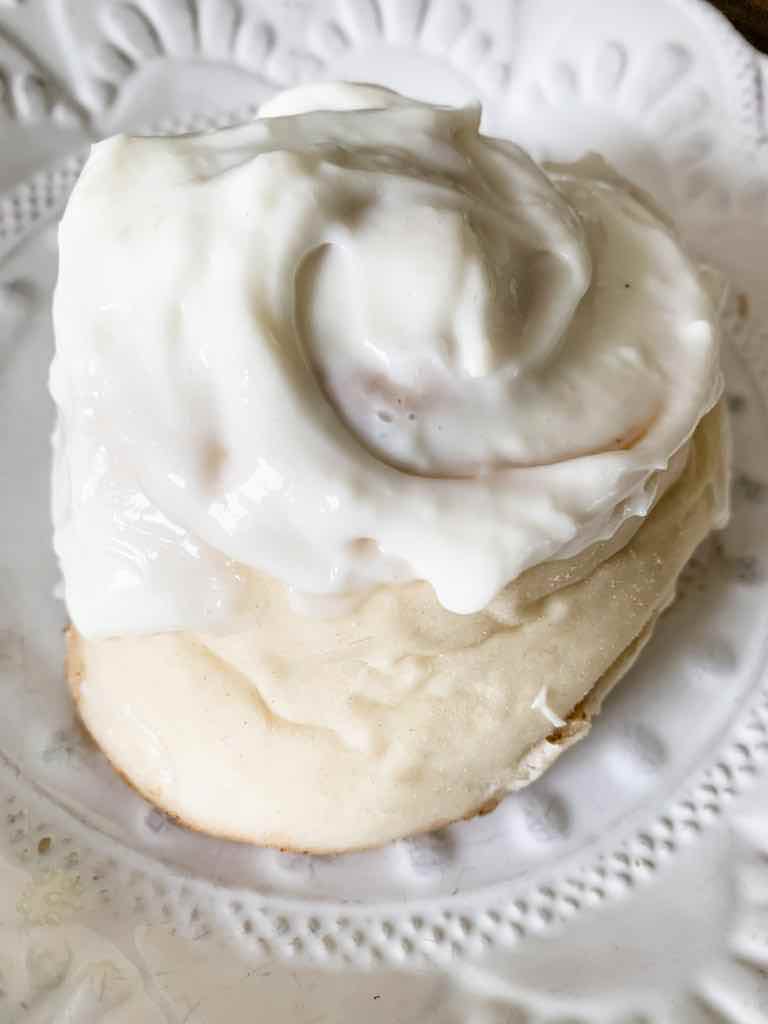
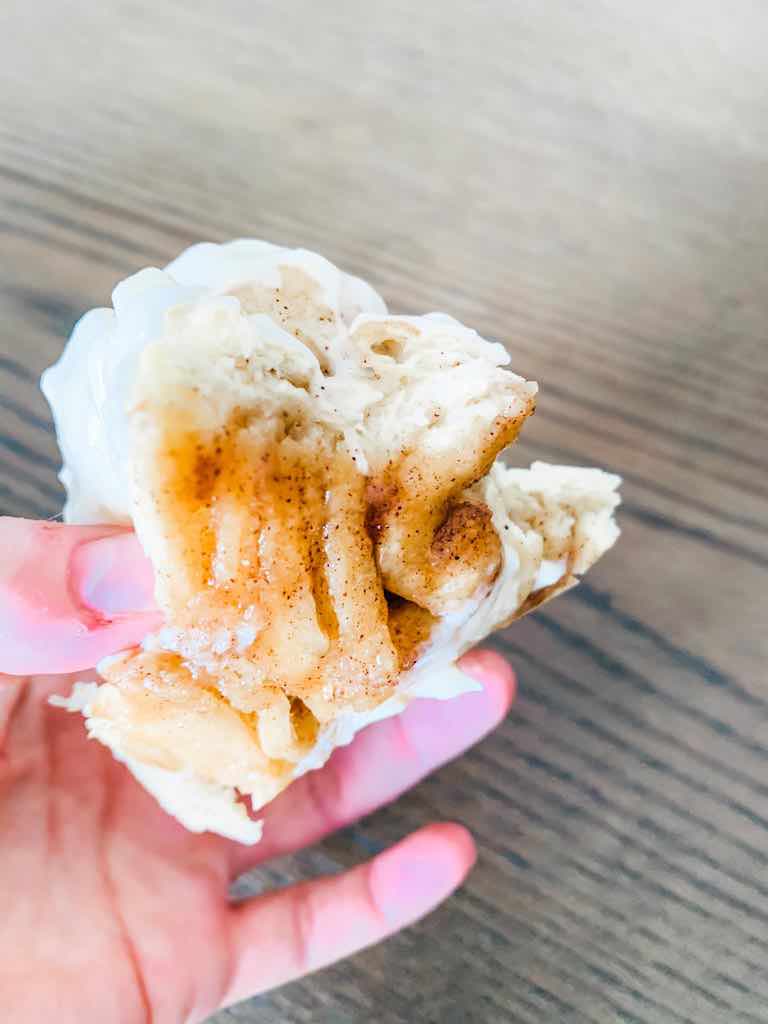
They’re everything you’ve ever wanted in a cinnamon roll. Gooey, sweet with a touch of spice, warm frosting oozing over the sides…I’m actually drooling while writing this!
This recipe is such a hit, after my last batch I had four people asking for the recipe or if I had any more to share.
And he may get mad at me for sharing, but my husband ate FOUR in one sitting the other day. He said it was my fault because they were too good.
OK, are you sold yet? You have to try them!
This post contains affiliate links for your convenience. That means if a purchase is made using links from this site, I may earn a small commission at no additional cost to you. Thank you for supporting These Hungry Kids!
How to make cinnamon rolls
For whatever reason, cinnamon rolls (or really any homemade bread) are very intimidating to some people! But I promise, if you follow the instructions your rolls will be perfect *every* time.
You may also like Apple Cinnamon Bread, Easy Cheesy Garlic Bread or Garlic and Herb Focaccia Bread
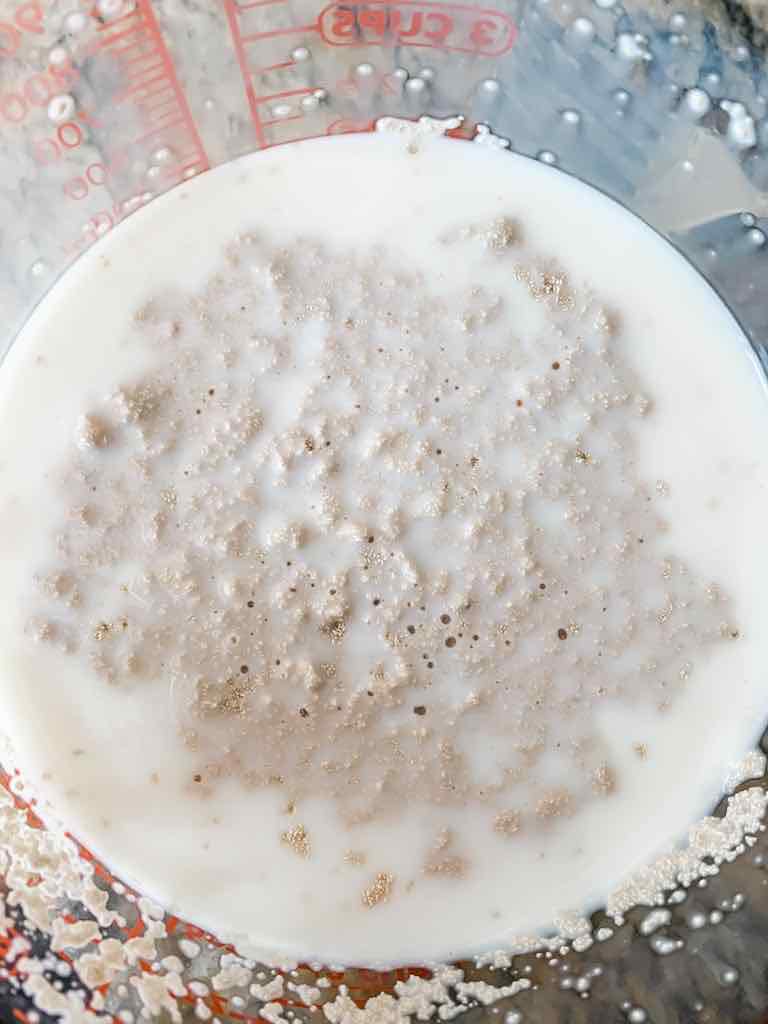
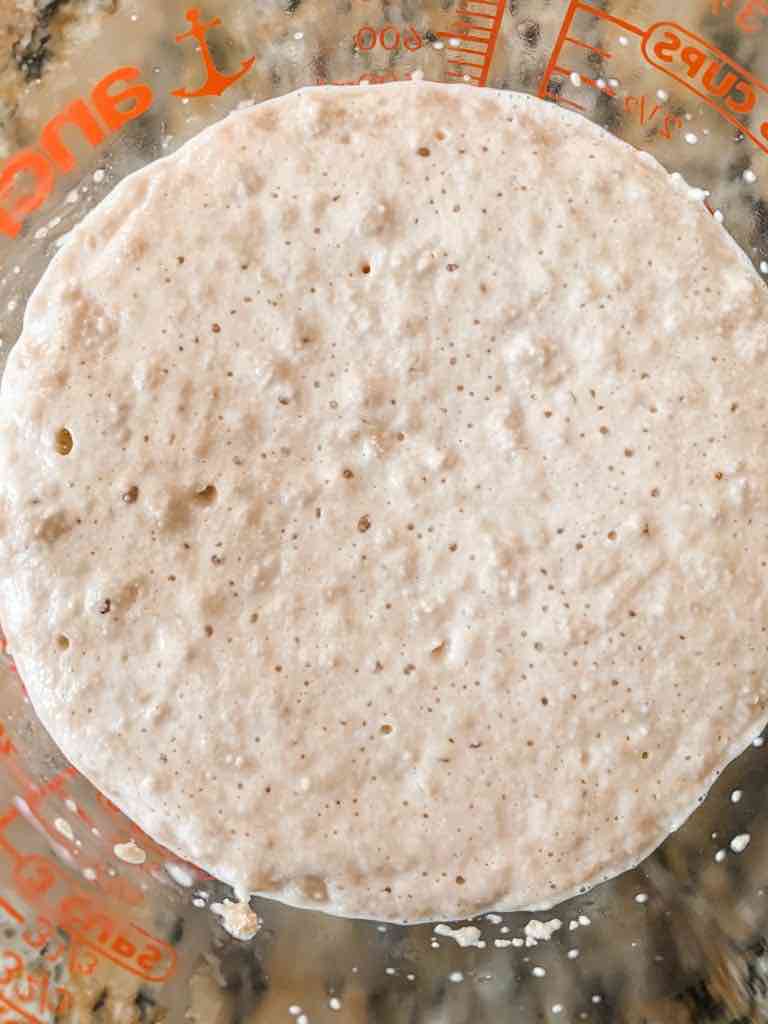
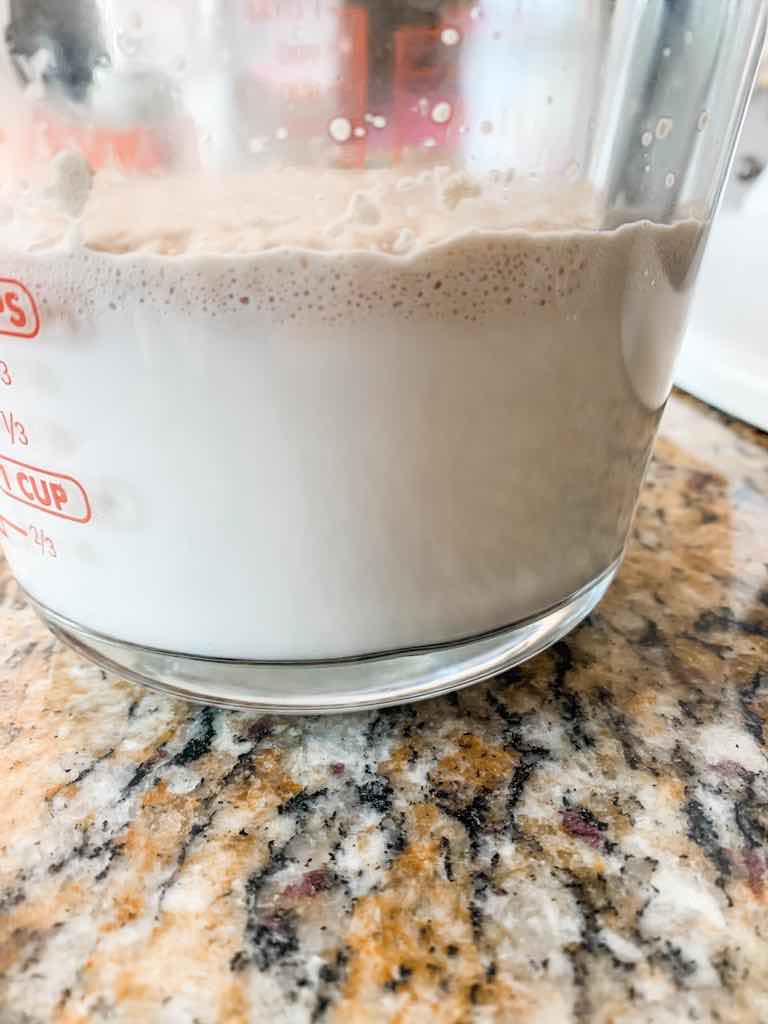
Step 1. Proof the Yeast
What is proofing the yeast? Well, it’s pretty simple. This recipe uses active dry yeast.
So you’re proving the yeast is still active and alive. To proof the yeast, you mix it with the warm milk and sugar. This starts to “activate” the yeast, and the yeast will begin producing carbon dioxide.
I’ve tried skipping this step before, and my rolls did not turn out right! It takes about 5 minutes to get your yeast looking good.
Step 2. Make the dough
Add the yeast mixture, and the butter, flour, salt, and egg to your stand mixer. I recommend using a dough hook for this, but a flat edge beater would work if that’s what you have.
You won’t have to mix the dough for long. Once it’s well incorporated and the dough is pulling away from the sides of the bowl, you can move on to the next step.
Do I need a stand mixer to make cinnamon rolls?
No, you could do this by hand. It will be a lot more difficult, but it can be done!
If you don’t have a stand mixer, they’re awesome, and totally worth the investment.
I got my KitchenAid mixer for Christmas when I was 16 (yes, I was a weird teenager!) and it’s still working great over 11 years later! It’s been an awesome investment, I use it frequently.
Step 3. Let the dough rise
Take the dough out of your mixer and place it in a greased bowl. Cover it with a towel and place it somewhere warm.
I usually set it next to a heat vent and turn the thermostat up a few degrees. I’ve also put it in front of the fireplace which works well!
The dough will double in size in about 1-2 hours.
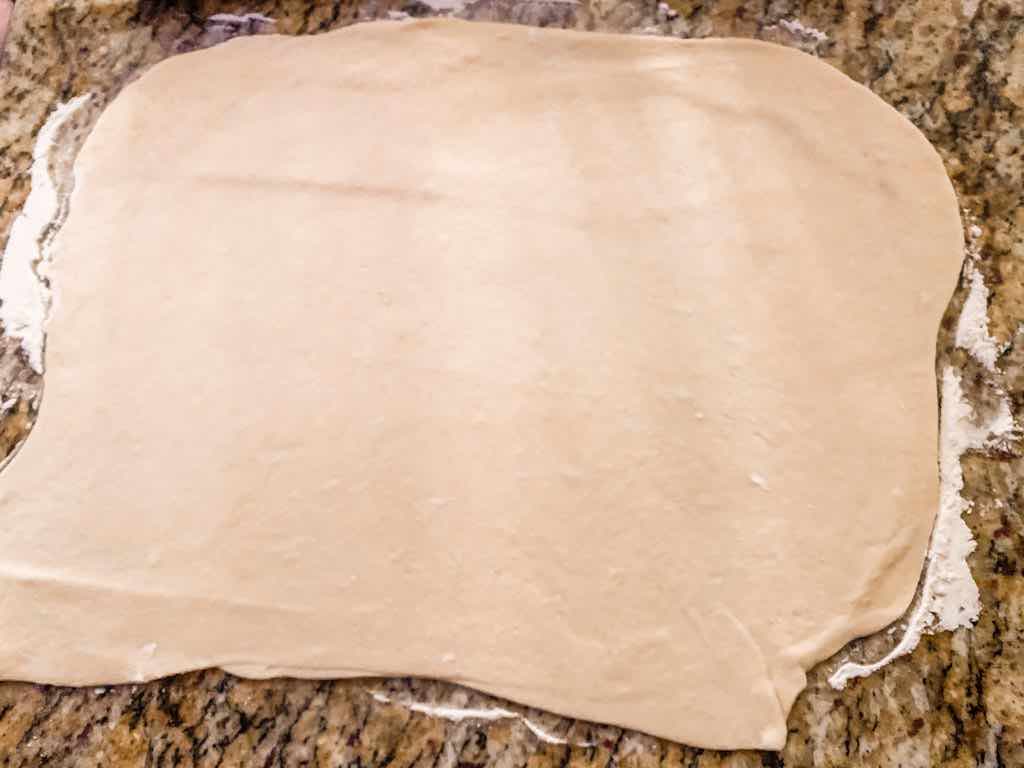
Step 4. Roll the dough
On a well floured surface, roll the dough out into a large triangle.
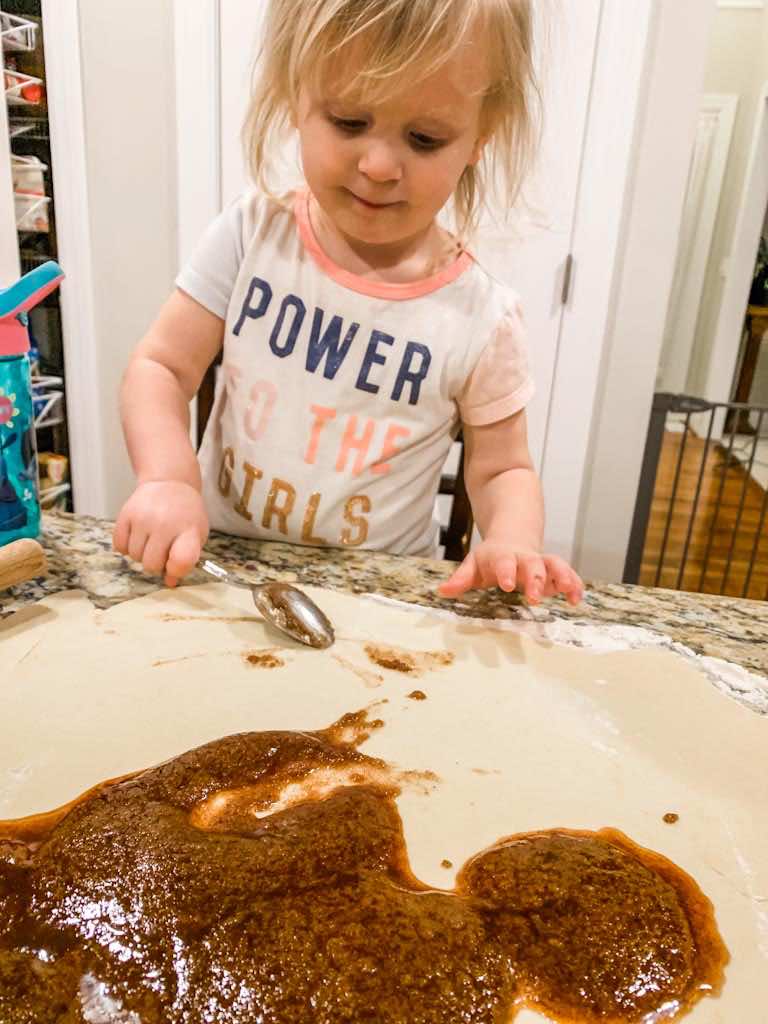
Step 5. Make the filling and spread it on
Mix together melted butter, cinnamon and brown sugar.
Spread over the dough evenly until dough is covered with mixture.
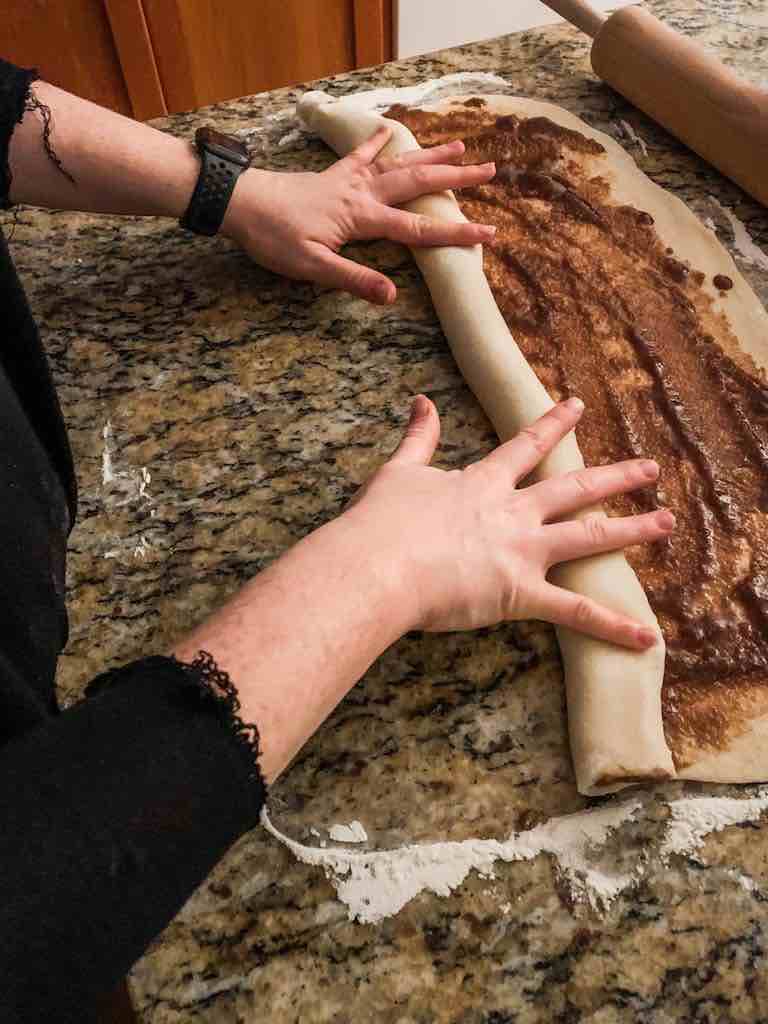
Step 6. Roll dough up
Starting with the longest part of the rectangle, roll dough gently into a log. Make sure your surface was adequately floured so the dough doesn’t stick to the countertops.
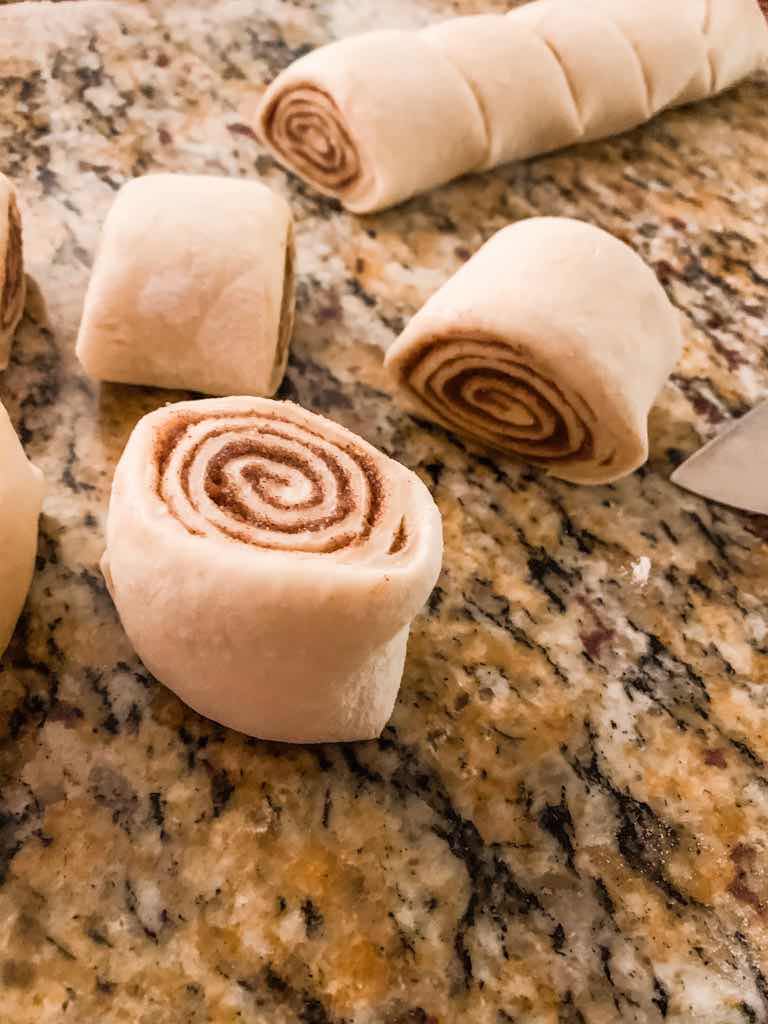
Step 7. Slice the dough
First, cut off the uneven ends of each side of the log. Those pieces can be discarded, or in my house, they’re baked in a separate dish for my husband. He found out I was throwing those nubs away and was astonished I would waste them!
To slice, the dough, you can use a sharp knife or an unflavored dental floss.
I’m going to be totally honest, I’ve never used dental floss. The knife is just easier, and I’m not that fussy! But to each his own, and dental floss makes a great cut.
How big should I cut the cinnamon rolls?
The size of the roll isn’t super important, as long as they’re all about the same. If you want to measure them, go for it. But like I said, I am not a fussy person.
If the rolls are bigger, you’ll get less and they’ll need longer to bake. For smaller rolls, keep an eye on the baking time. You may need to trim a few minutes off.
Step 8. Let the rolls rise in the baking dish
Place the rolls in a baking dish. A 9×13 baking dish should fit them all, but feel free to use a smaller pan if you want to bake some and freeze some (or bake some for a friend!)
I’ve also used round cake pans and that’s worked great.
Whatever container you choose, lightly grease it with cooking spray and place the rolls in. Leave them on the counter for 20-30 minutes while your oven warms up.
Step 9. Bake!
Get ready for your house to smell AMAZING!
These bad boys bake at 325 degrees Fahrenheit for 18-20 minutes. You want them to have a touch of golden brown on the top.
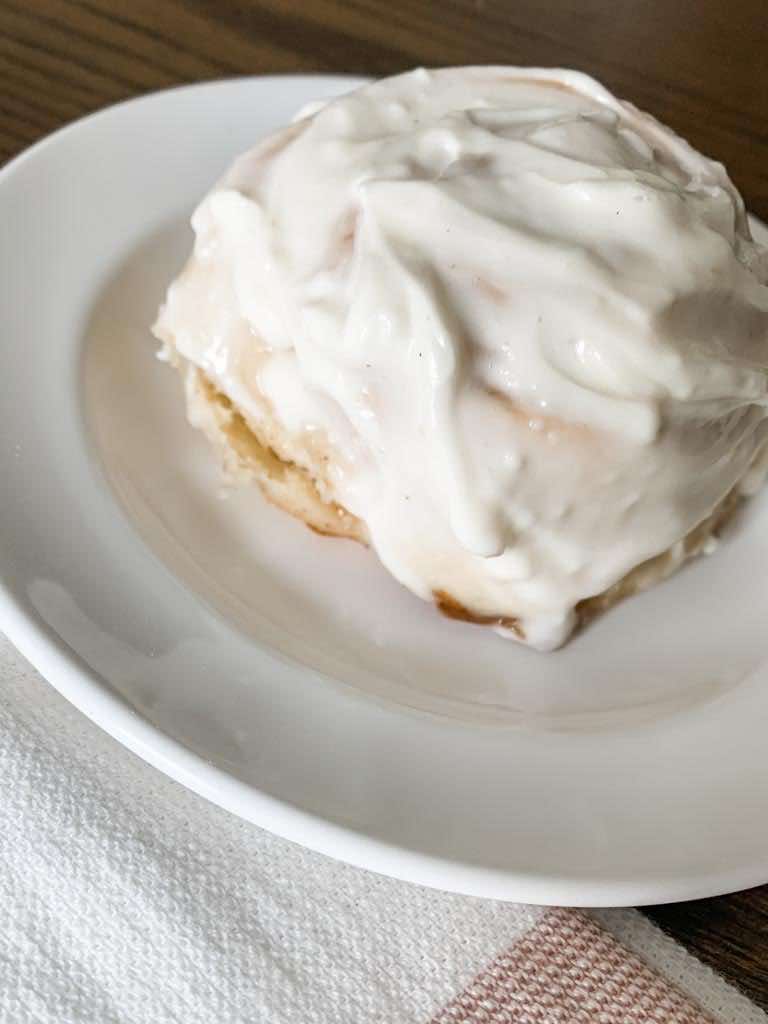
Step 10. Frost
While the rolls are baking, beat together cream cheese, milk, powdered sugar, and a touch more cinnamon. I use a hand mixer for this.
If you aren’t a fan of cream cheese, you can replace half of the cream cheese with softened butter.
Frost the cinnamon rolls when they’re warm so the icing melts into the cracks. It’s truly divine!
Can I freeze cinnamon rolls?
Heck yes, you can!
In fact, I always make a double batch so I have some for the freezer. They’re the perfect freezer meal for a weekend morning, an impromptu brunch, or to gift to a friend that just had a baby or lost a loved one.
For more freezer meal ideas, check out these easy freezer meals!
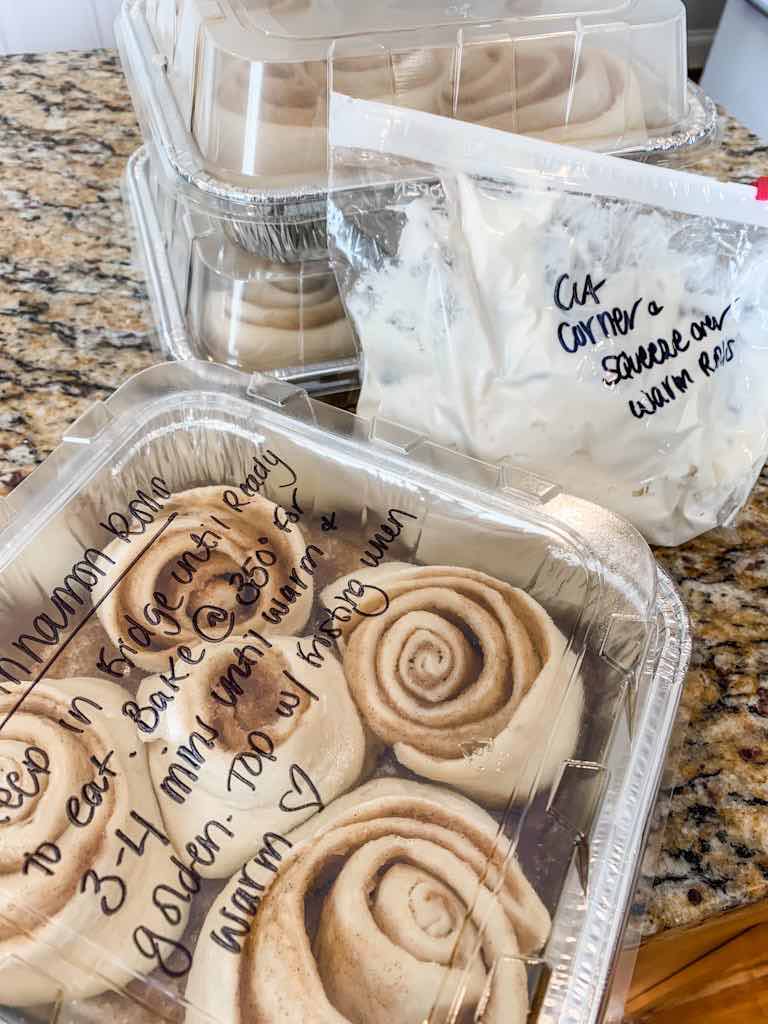
To make the rolls for the freezer, you’ll cut the baking time short by a few minutes. Typically just the last 3-4 minutes when the rolls are getting brown. You will want them to be cooked before putting them in the freezer.
Pull the rolls out of the oven when they’re cooked, but not golden brown, and let them cool completely. Cover the baking dish tightly and place in the freezer.
When you’re ready to eat them, allow them to defrost overnight in the refrigerator. Allow the rolls to come to room temperature before baking.
I find baking them at 350 degrees for about 3-5 minutes works great for getting them warmed throughout and golden on the top.
The frosting will not keep well in the freezer, so I always make it fresh.
Frost them warm, and serve! Voila!
How to make overnight cinnamon rolls
Complete steps 1-8 before placing rolls in an airtight container in the refrigerator. Basically, you’ll let them do the second rise in the refrigerator.
The next day, let rolls come to room temperature (it may take an hour or so!)
Bake at 325 degrees for 18-20 minutes, until golden brown. Frost and serve!
There, the secret is out! Now you know how to make the world’s best cinnamon rolls.
Try not to eat the whole pan in one sitting! But if you do, I won’t judge. These cinnamon rolls are magical.
Please let me know what you think of this recipe! I can’t wait for you to try.

I am craving cinnamon rolls sooooo badly right now! Pinned this recipe 😀 It looks amazing!
They will totally satisfy that craving! Let me know what you think 🙂